Comment installer le code de suivi Matomo sur WordPress ?
Il est facile d’ajouter le suivi Matomo à votre site WordPress. Vous pouvez utiliser le plugin WordPress (en suivant les étapes ci-dessous), installer le code JavaScript (en utilisant ce guide), ou installer une balise image (en utilisant ce guide).
Exigences
- Un compte Matomo : Cloud ou On-Premise (auto-hébergé).
- Un compte administrateur sur WordPress
- Un site WordPress.com avec un plan Business, Commerce ou Enterprise, ou un site WordPress auto-hébergé.
Étapes pour commencer le suivi dans Matomo
-
Installez le plugin « WP-Matomo » sur votre site WordPress.
- Connectez-vous à votre site WordPress en tant qu’administrateur.
- Dans le menu de gauche, cliquez sur « Plugins » > « Ajouter un nouveau » (si vous ne pouvez pas voir le menu « Plugins », vous pouvez à la place suivre ces étapes pour insérer le code de suivi Matomo manuellement dans les fichiers de votre thème WordPress).
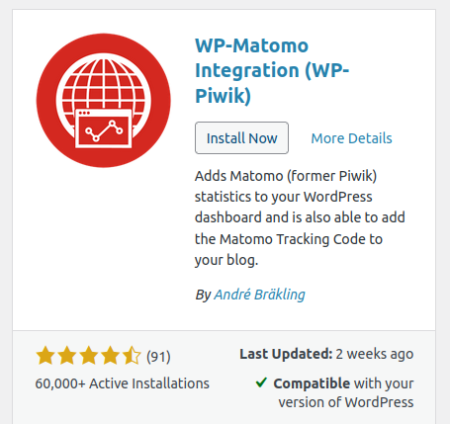
- Recherchez « Connexion Matomo » dans le champ des mots clés de la page « Ajouter des plugins ».

- cliquez sur « Installer maintenant » à côté du plugin « WP-Matomo »

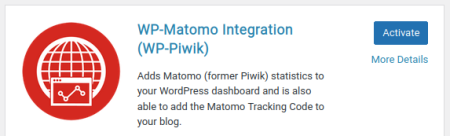
- Maintenant que le plugin est installé avec succès, cliquez sur « Activer ».

-
Dans le menu de gauche, cliquez sur « Paramètres » > « WP-Matomo ».

-
Dans le menu déroulant « Mode Matomo », sélectionnez l’option « Auto-hébergé (HTTP API, par défaut) ».

-
Dans le champ de texte « URL Matomo », saisissez votre URL Matomo, par exemple ‘https://analytics.example.com’.
-
Dans le champ « Jeton d’authentification », saisissez votre jeton d’authentification Matomo. Comment trouver le jeton d’authentification.
-
Confirmez que la case « Config auto » est cochée et cliquez sur « Enregistrer les modifications ».
-
Vous devriez voir le message « WP-Matomo est bien connecté à Matomo ». Si vous ne voyez pas ce message, assurez-vous que les valeurs que vous avez fournies dans les étapes précédentes sont correctes, et réessayez.
-
Cliquez sur l’onglet « Activer le suivi ».
-
Dans le menu déroulant « Ajouter un code de suivi », sélectionnez « Suivi par défaut ».

-
Cliquez sur « Enregistrer les modifications » et un message de réussite s’affichera.


Félicitations, vous devriez maintenant réussir à suivre les visiteurs avec Matomo Analytics sur l’ensemble de votre site WordPress ! Bonnes analyses.