How to set up OneLogin with the Matomo Login SAML plugin
The Login SAML plugin in Matomo enables secure Single Sign-On (SSO) integration with identity providers such as OneLogin. Using SAML (Security Assertion Markup Language) allows your organisation to manage authentication centrally and gives users an easy and secure way to access Matomo with their existing company credentials.
This guide explains how to create and configure a OneLogin application, obtain the necessary SAML settings, and connect your Matomo instance for secure SSO authentication.
Before you start
Make sure the following requirements are met:
- OneLogin account with administrator access
You need admin rights in OneLogin to create and configure a new SAML application. - Matomo instance with Superuser access
Only a Superuser can install plugins and configure authentication settings. - Login SAML plugin installed and activated
The feature must be enabled in your Matomo instance. Login SAML integration is included in Matomo Cloud Enterprise plans. On-Premise users can purchase the plugin on the Matomo Marketplace. - Secure HTTPS connection
Both Matomo and OneLogin must use HTTPS for SAML authentication to work securely. - Accessible Matomo URL
Your Matomo site must be reachable by OneLogin over the internet or your internal network. Private or localhost addresses will not work unless OneLogin can reach them.
Set up OneLogin
Creating an application in OneLogin establishes the secure connection between your identity provider (IdP) and Matomo. This app acts as the trusted link that exchanges authentication information using the SAML protocol. When an authorised user signs in through OneLogin, the app passes a verified SAML assertion to Matomo, confirming the user’s identity and access rights.
Add a new app in OneLogin
- Log in to the OneLogin admin dashboard.
- When the Portal opens, click on Administration.
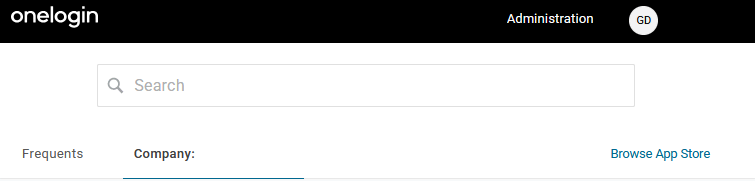
- Select Applications from the top menu.
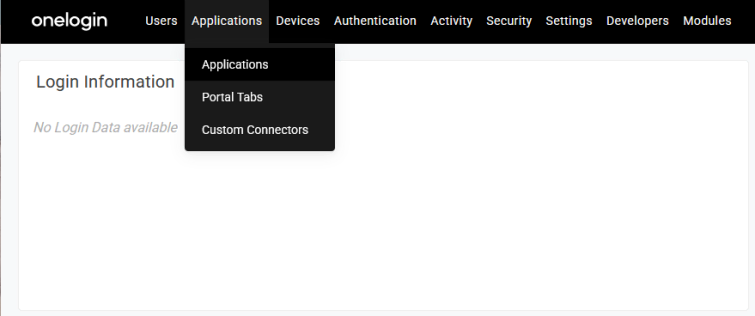
-
Search for and then select SAML Custom Connector (Advanced).

-
For Display Name, add the app’s name e.g., Matomo and ensure the option Visible in portal is enabled.
- It is optional to add custom icons and a description to display next to the app’s name in the portal.

- To use the Matomo logo, click on the links to download the square and rectangular Matomo icon.
- Click Save and additional menu options will appear in the left panel.
Application Configuration
- Open the Configuration page where you will need to provide the Entity ID and Assertion Consumer Service URL endpoint. This information is found in your Matomo instance:
- Log in to Matomo as a Superuser and navigate to Administration
 > System > SAML.
 - Under the SAML Status section, click on the Access to SP metadata link.
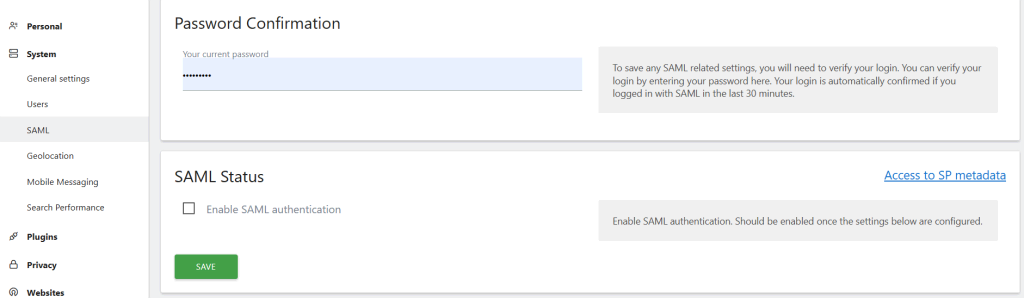
- Copy the Entity ID and Assertion Consumer Service URL values.
- Log in to Matomo as a Superuser and navigate to Administration
- In the OneLogin Configuration page, paste the Matomo Entity ID into the Audience (EntityID) field and Assertion Consumer Service URL into the ACS (Consumer) URL Validator and ACS (Consumer) URL fields.
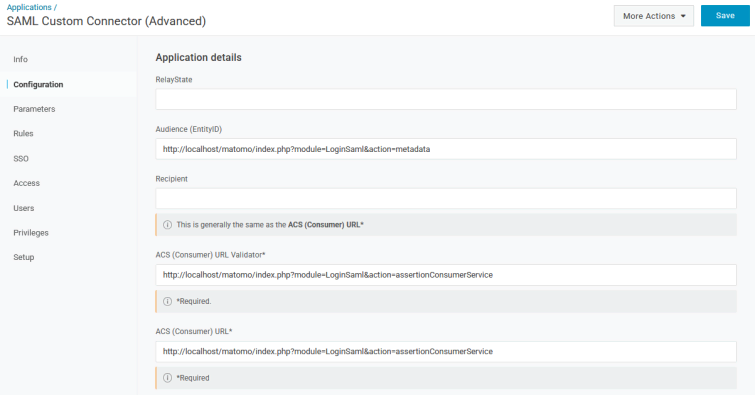
- Configure other settings as required.
- Click Save.
Application Parameters
- Open the Parameters page in the left panel.
- Click the plus icon
 to add a new parameter.
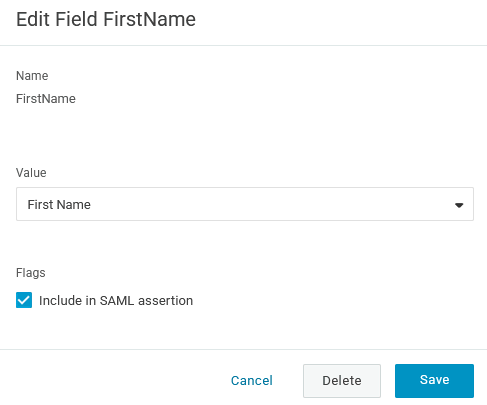
 - Enter the Field name as FirstName and select the flag, Include in SAML assertion.
- Click Save to go to the next screen.
- Select the Value as First Name and click Save.
- Repeat these steps to create the following parameters:
- Field name:
LastName, Value:Last Name - Field name:
Email, Value:Email - Field name:
UserName, Value:Username - Field name:
PersonImmutableID, Value:Onelogin ID
- Field name:
Application SSO
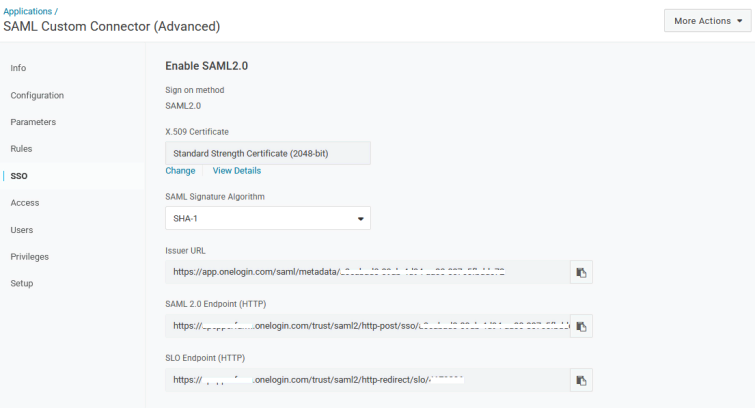
- Open the SSO page in the left panel.
- Click on More Actions in the top right and choose SAML Metadata. This downloads the metadata file that you will later import into Matomo, explained below in Configure Matomo for SAML.
- Before leaving this page, make a note of the following details:
- X.509 Certificate: Click View Details to access the public certificate used to sign authentication responses.
- Issuer URL: The unique identifier for your OneLogin account, used by Matomo to verify requests.
- SAML 2.0 Endpoint (HTTP): The URL where Matomo sends authentication requests during login.
Add Users in OneLogin
Adding users in OneLogin ensures that only authorised individuals can sign in to Matomo through Single Sign-On (SSO). Each user must be assigned to the Matomo SAML app to gain access.
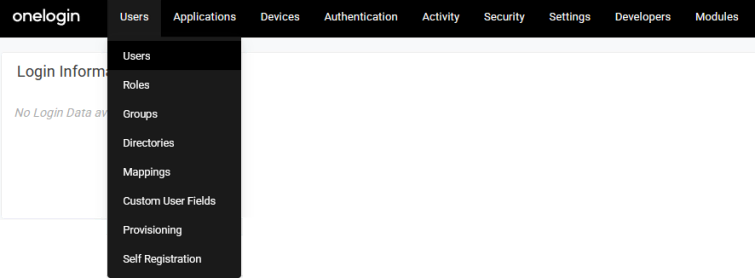
- From the OneLogin admin dashboard, select Users from the top menu.
- Click New User and enter the basic user information such as First name, Last name, Email, and User name.
- The Directory details will populate automatically after saving the user (based on your configuration settings).
- Click Save User.

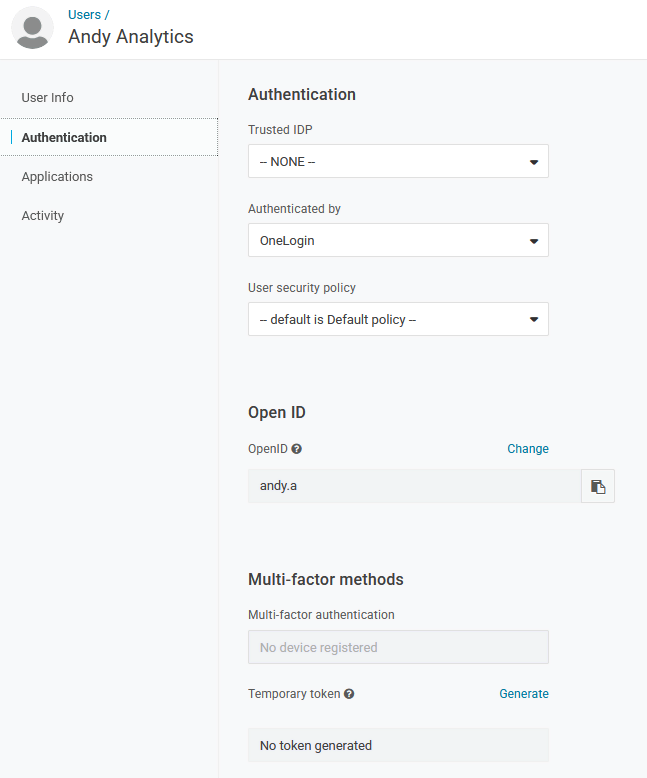
- Once the user is created, open the Authentication page.
- Modify the default settings as needed and save the changes.
- The user’s Applications page will show which applications they have been granted access to. This set up is done in the main User admin page.
- From the OneLogin admin dashboard, click on Users > Users in the top menu.
- You can create new users or click on an existing user to edit.
- Go to the user’s Applications page and click the plus icon to add an app to the user’s profile.
- Select the app from the list and click Continue.

- View and amend the settings as required and click Save.

- The assigned application is shown under the user’s Applications page.

If your organisation uses user groups, you can create groups in OneLogin, add users to the group and assign the Matomo app to that group instead of updating every individual user.
Configure SAML in Matomo
After setting up the application and users in OneLogin, the next step is to establish trust between OneLogin (the Identity Provider) and Matomo (the Service Provider). This configuration allows Matomo to recognise and accept authentication requests from OneLogin.
- Navigate back to the Matomo > Administration > System > SAML.
- Under the Identity Provider Settings, click the link Import Values from IdP Metadata.

- Open the SAML Metadata file downloaded earlier and copy and paste its contents into the Metadata XML field.

- Click Import and then click the Return to the SAML configuration view link.
Note: Importing the SAML metadata file ensures Matomo receives the necessary connection details, such as the issuer, certificate, and endpoints, directly from OneLogin. This process prevents manual errors and guarantees that both systems share the same secure authentication configuration. - The Identity Provider Settings will be automatically populated after the metadata import.
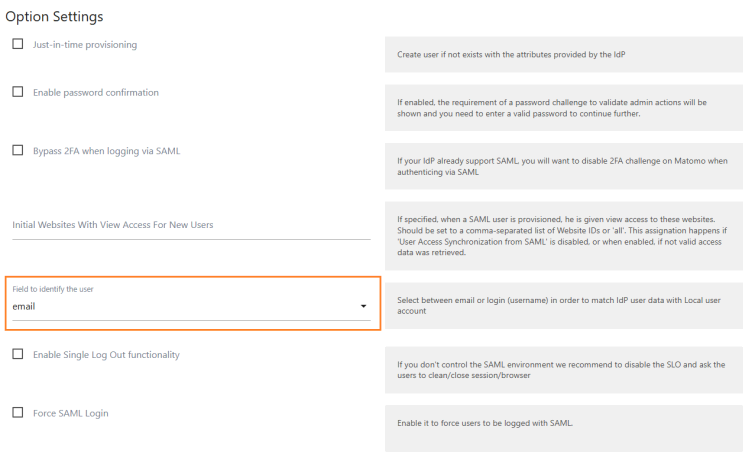
- Under the Option Settings, select email or username as the Field to identify the user.
- Update the Attribute Mapping Settings so the username and Email fields correctly map to the
UserNameandEmailparameters defined in the Application setup in OneLogin.

- Under Advanced Settings, confirm the NameID Format is set as
urn:oasis:names:tc:SAML:1.1:nameid-format:emailAddress. - Configure the rest of the settings according to your requirements.
- When you are ready to save the integration, scroll to the top of the SAML page and provide your Superuser password.
- Select the option to Enable SAML authentication and click Save. This finalises the integration, allowing users to log in through OneLogin using their existing credentials.
- To test the integration, log out and attempt to log in using the SAML Login button on the Sign in screen.

Once SAML authentication is enabled in Matomo, your users can log in securely through OneLogin without needing separate credentials. If you later update your OneLogin configuration or certificate, remember to re-import the updated metadata into Matomo to maintain a secure connection.
Read more about logging in with SAML authentication and explore the options available for Single Sign-On (SSO).